

Finally! How to go live on Instagram, Facebook, YouTube, TikTok and Twitch at the same time
5 simple steps to go live on YouTube, Facebook, Instagram and Twitch at the same time – without putting extra load on your CPU or internet bandwidth. It’s possible!
In this tutorial we’ll use live4.tv with OBS Studio. That’s all you’ll need (besides, of course, accounts on the social networks you plan to stream to).
Here’s a step-by-step video on how to multistream, but if you’d rather read, the full description is also right here on this page.
Our end goal is to set up the stream as shown in the following image:

Step 1: Create your Live4.tv account
Live4.tv works right in your browser, with nothing to install. If you don’t have an account yet, you can create one by clicking here.
Step 2: Log in or create a Live4.tv account
The first time you open the Live4.tv app, you’ll see a login screen.

If you created a user account here on the website, you can log in with the same account, using the email and password you registered.
If you haven’t signed up yet, you can do it in the app itself by clicking “Don’t have an account yet? Sign up here!”.
Step 3: Create an event on Live4.tv
Once you log in, you’ll see the Live4.tv events page. There you can create your first event by clicking “CREATE AN EVENT”.

It’s important to know that the information you enter as the event’s “Title” and “Description” is what will be posted on the social networks when you start your live stream.

After you create your Live4.tv event, you’ll be automatically redirected to the studio screen (as in the image below).

The most important sections of the studio screen are:
Streaming Details:
Where you’ll find the settings for your OBS Studio, so it streams to the Live4.tv servers.
Streaming Destinations:
Here you can set up the networks Live4.tv will distribute your live stream to (multistreaming).
Settings:
In this area you can configure your live stream (screen format for Instagram, YouTube quality, etc…).
Step 4: Set up OBS Studio
If you haven’t downloaded OBS Studio yet, you can download it by clicking here. After that, you need to set up OBS so that it streams to Live4.tv.
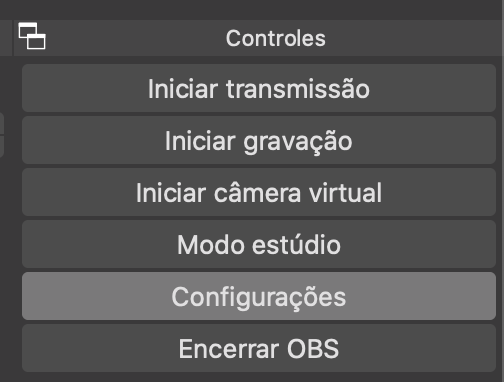
To do this, just open the settings window in OBS Studio by clicking “Settings”.
In the settings window, click “Stream”. Then set “Service” to Custom…:
Then enter your live4.tv event details: in “Server” paste the “Streaming URL”, and in “Stream Key” use your event’s “Stream Key”. You can copy these details straight from the Live4.tv studio, in the “Streaming Details” area.
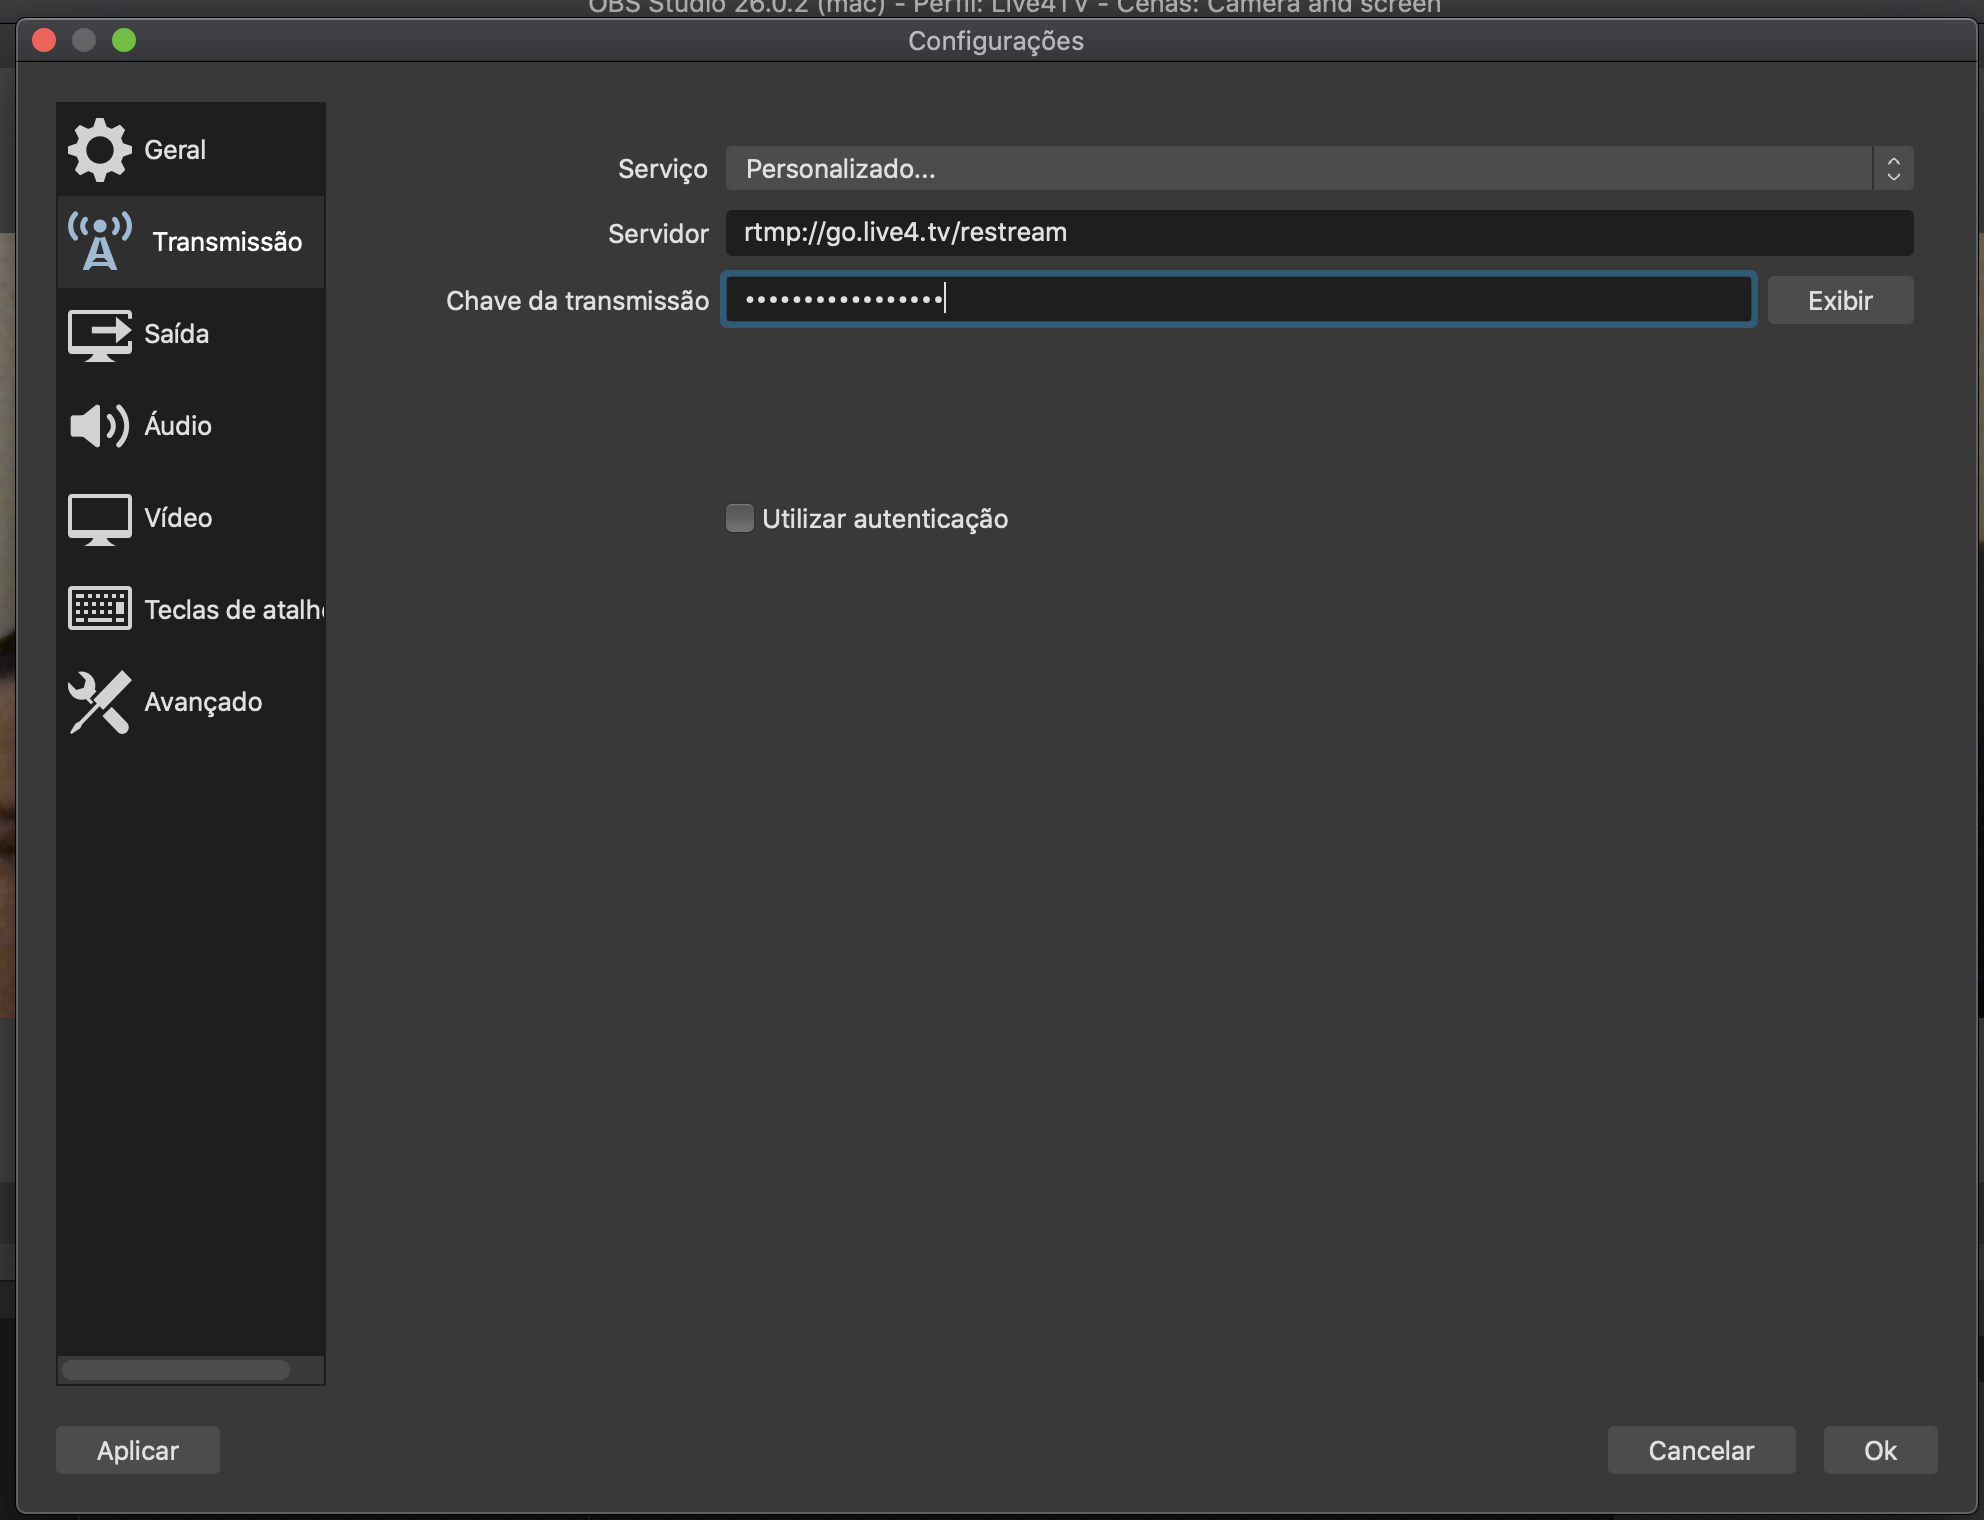
Click “OK” to save.
Step 5: Set up your social networks
For this tutorial we’ll set up one Instagram account, one Facebook account and one YouTube account.
In the “Streaming Destinations” area, click “+ ADD DESTINATION” and then “+ Add new Instagram”.
The account settings window will open, where you can enter your Instagram username and password. Then click “ADD”.

Once you log in, your account should appear in your event’s destination list, as in the image below:

To add your Facebook accounts, just click “+ ADD DESTINATION” and then “+ Add new Facebook”.
After logging in with your Facebook username and password, you’ll see a list of destinations you can stream to. Just select the accounts and click “ADD”.

After that, you should see your accounts linked to your event, as in the following image:

YouTube
Now let’s repeat the process to add YouTube too, by clicking “+ ADD DESTINATION” and then “Add new YouTube”.
After you click “LOG IN TO YOUTUBE”, a window will open in your browser so you can authorize the Live4.tv app. It’s very important to make sure all the checkboxes are ticked on the YouTube authorization page. Otherwise, creating your live stream will fail.

Done, your YouTube account is now in the Live4.tv app too.

That’s it, now you just need to start streaming in OBS Studio by clicking “Start Streaming”, and in Live4.tv by clicking “START ON ALL DESTINATIONS”.


At this point, your live stream should be multistreaming to Instagram, Facebook and YouTube.
Happy streaming!