
OBS Studio for Beginners
WHAT IS OBS STUDIO?
OBS Studio is free software for live streaming and/or video recording. With OBS you can record tutorials, stream computer games and run professional live streams on the internet.
Many people are using OBS to create professional content.
SCENES AND SOURCES

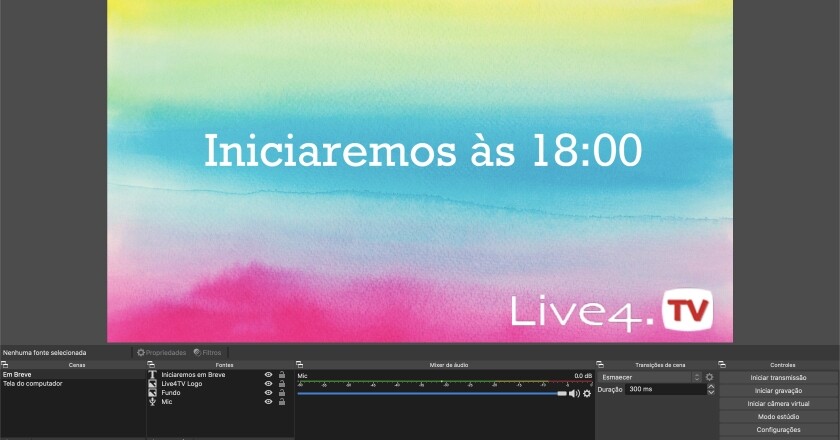
This is the main feature of OBS Studio. This is where you’ll build your streaming setups.
“Sources” are media layers you’ll use to build your scenes. For example, camera, computer screen, microphone, photos and images, text, …
“Scenes” are basically a set of “Sources” that make up a setup for your stream.
You can create multiple setups in advance for different purposes and switch between them during your stream. For example, you can have one setup that shows only your webcam, a second that shows another camera connected to the computer, and a third that shows your computer screen. Then, while recording or streaming live, you can “Transition” between these setups.
TRANSITION
In OBS Studio you have the “Preview” (on the left) and the Program (on the right). The preview is simply a preview of what you can stream, while the program shows what you’re streaming right now.

In the image above, I’m streaming the “Coming Soon” scene and I have the “Preview” of my computer screen capture. If I want to start streaming my other scene, I just need to click the “Transition” button in the middle column between the images.
HOW TO STREAM LIVE WITH OBS (LIVE STREAMING)
To go live, you’ll need to set up the server you’ll stream to. Click “Settings” in your “Controls” menu.
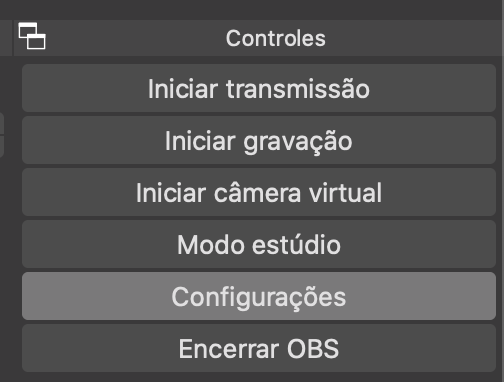
Then, on the settings screen, click “Stream” in the left-hand menu.
Streaming services usually give you two pieces of information:
- The URL of the server you need to send your stream to.
- A stream key that identifies your stream on the service receiving it (so the service knows you are you).
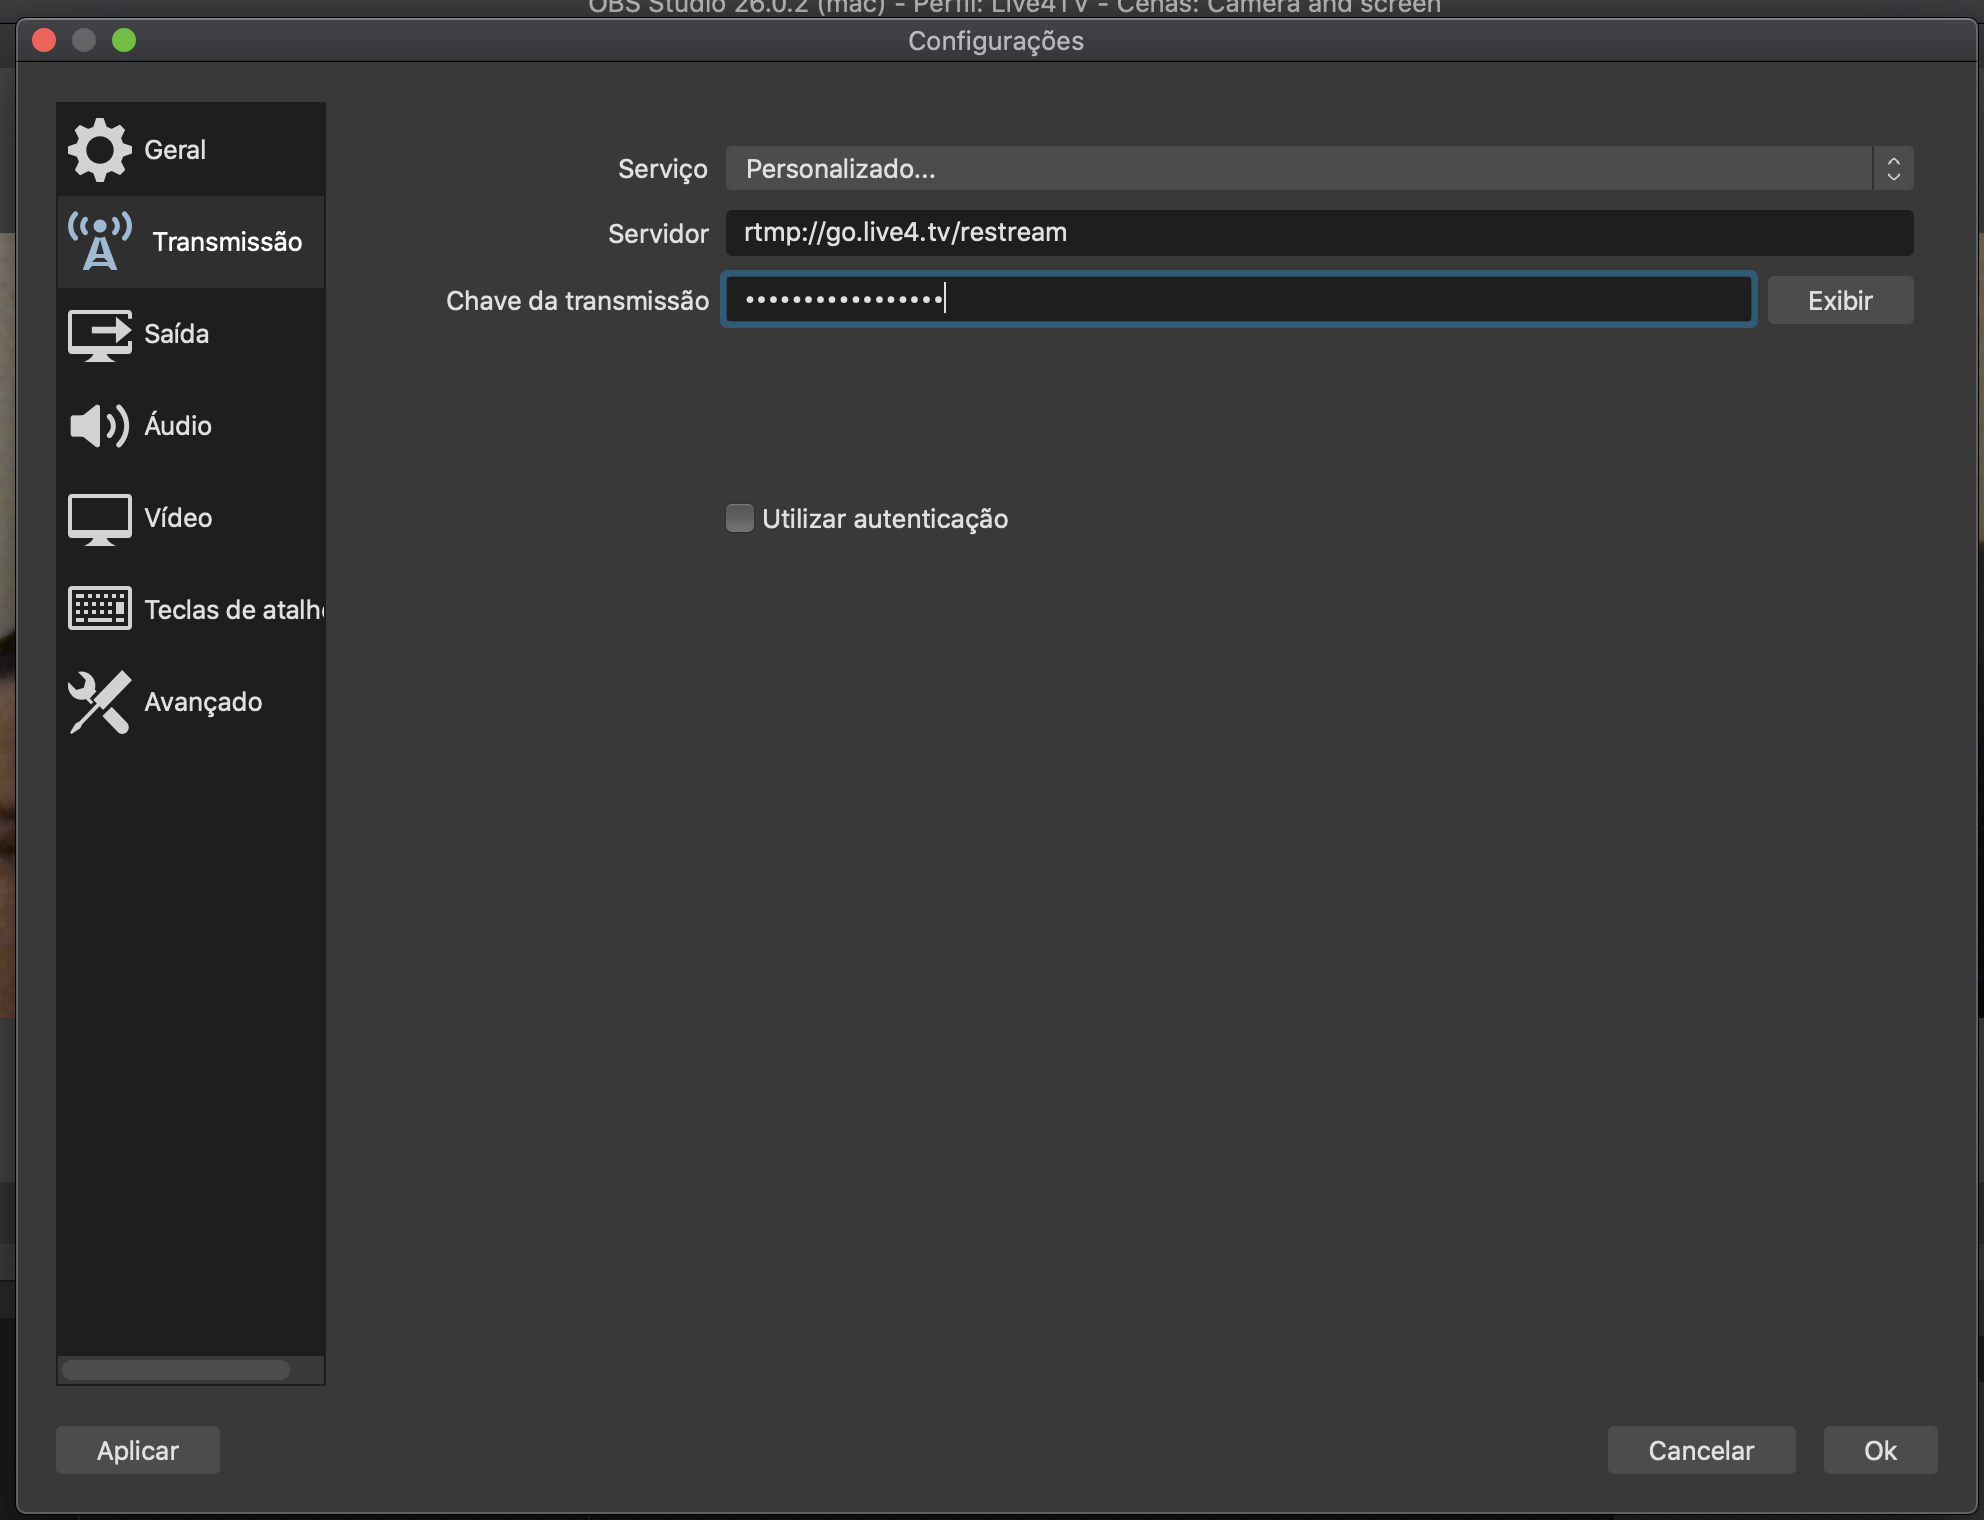
OBS has a menu with many preconfigured services. If you select one of them, OBS will fill in the Server URL for you. If the service you want to stream to isn’t on the list, just select “Custom…” and enter the Server (streaming URL) and Stream Key.
As in the example in the following image, we set up live4.tv:
START STREAMING
Once your stream is set up, just click “Start Streaming” in the “Controls” menu, and your live stream will begin.

And that’s it: you can now start streaming in a more professional way. If you have any questions, feel free to contact us by clicking here.
If you want to learn how to stream your live to several social networks at the same time, read our other article by clicking here.