
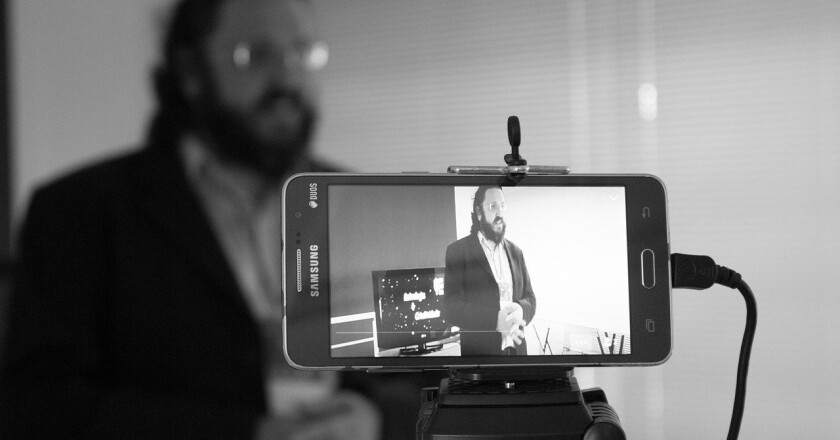
5 simple steps to live stream your church services on every social network. Better quality, lower cost!
In this tutorial I’ll show you the cheapest and easiest way to reach a wider audience for your church services, with excellent stream quality.
What will you need?
One or more smartphones
I’ll show you how to use the phone’s own camera to capture the image. Today’s phones have very powerful cameras, and you most likely already own a phone with a high-resolution camera. That way we cut out the extra cost of buying cameras.
A tripod or stand for the phones (optional but recommended)
You’ll need to rest the phone on a stable surface to get a steadier image (no shaking or wobbling).
A simple phone tripod will certainly do the job, but if you don’t have one, you can use anything that holds the phone in a stable position.
A computer
The computer will receive the captured image and audio, and then stream everything to the internet.
A Wi-Fi network with a good internet connection
We’ll use the Wi-Fi network for two things.
- Connecting the phones to the computer to capture the image (and possibly audio too).
- Streaming the live to the internet.
An active Live4.tv account
Live4.tv lets you reach a wider audience by sharing your stream simultaneously to YouTube, Facebook, Instagram, TikTok, Twitch, etc…
An audio mixer and an aux cable (optional but recommended)
This item is optional, since you can also stream the audio from the phone itself. But for a more professional quality, it’s highly recommended that you connect an output from your mixer directly to your computer.
So the setup we want to achieve is this:
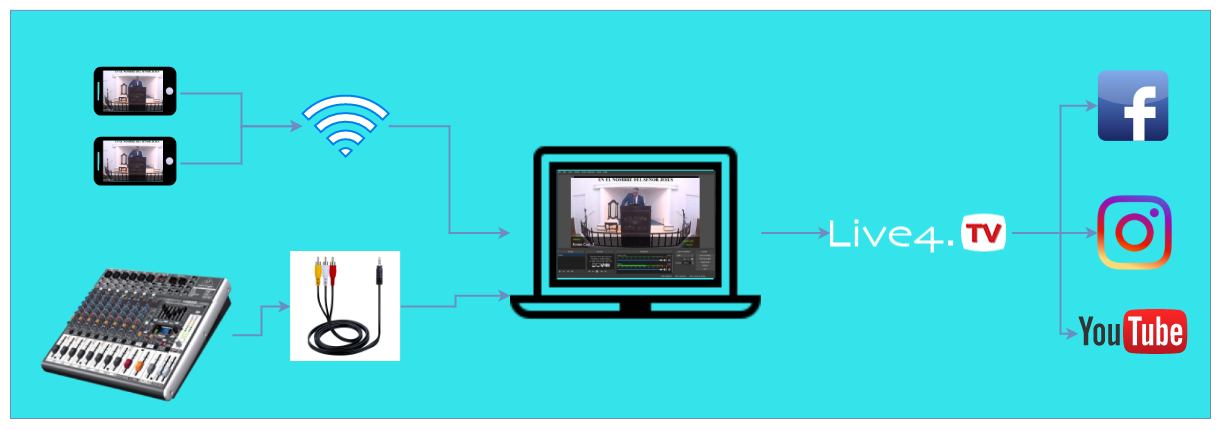
- The phones capture the image and send it to the computer over the Wi-Fi network.
- The audio goes to the computer straight from your sound mixer via the aux cable.
- The software on the computer combines the image and audio and streams the live to Live4.tv.
- Live4.tv restreams your live to all of your church’s social media accounts.
- Your audience watches the live directly on social media (Instagram, Facebook, YouTube, …).
Step by step
Now let’s go through the setup step by step.
Step 1: Set up the computer
On the computer, we’ll use OBS Studio, a powerful, free studio program for real-time streaming.
You can download OBS Studio at obsproject.com and follow the usual installation steps.
Step 2: Set up your social networks in Live4.tv
Live4.tv runs right in your browser, with nothing to install: go to studio.live4.tv.
Then you’ll need to sign in with an existing account or create a new one.
Once you log in, you’ll see the Live4.tv events page. There you can create your first event by clicking “CREATE AN EVENT”.

It’s important to know that the information you enter for the event’s “Title” and “Description” is what will be posted on social media when you start your live.

After you create your Live4.tv event, you’ll be automatically taken to the studio screen (as in the image below).

The most important sections of the studio screen are:
Streaming Details:
Where you’ll find the settings for your OBS Studio so it streams to the Live4.tv servers.
Streaming Destinations:
Here you can set up the networks Live4.tv will distribute your live to (multistreaming).
Settings:
In this area you can configure your live stream (screen format for Instagram, YouTube quality, etc…).
Step 3: Set up OBS Studio
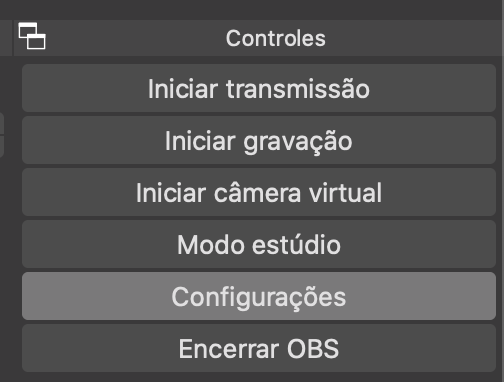
You need to configure OBS so it streams to Live4.tv. Just open the settings window in OBS Studio by clicking “Settings”.
In the settings window, click “Stream”. Then set “Service” to Custom…:
Then enter your live4.tv event details: in “Server” paste the “Stream URL”, and in “Stream Key” use your event’s “Stream Key”. You can copy these details straight from the Live4.tv studio, in the “Streaming Details” area.
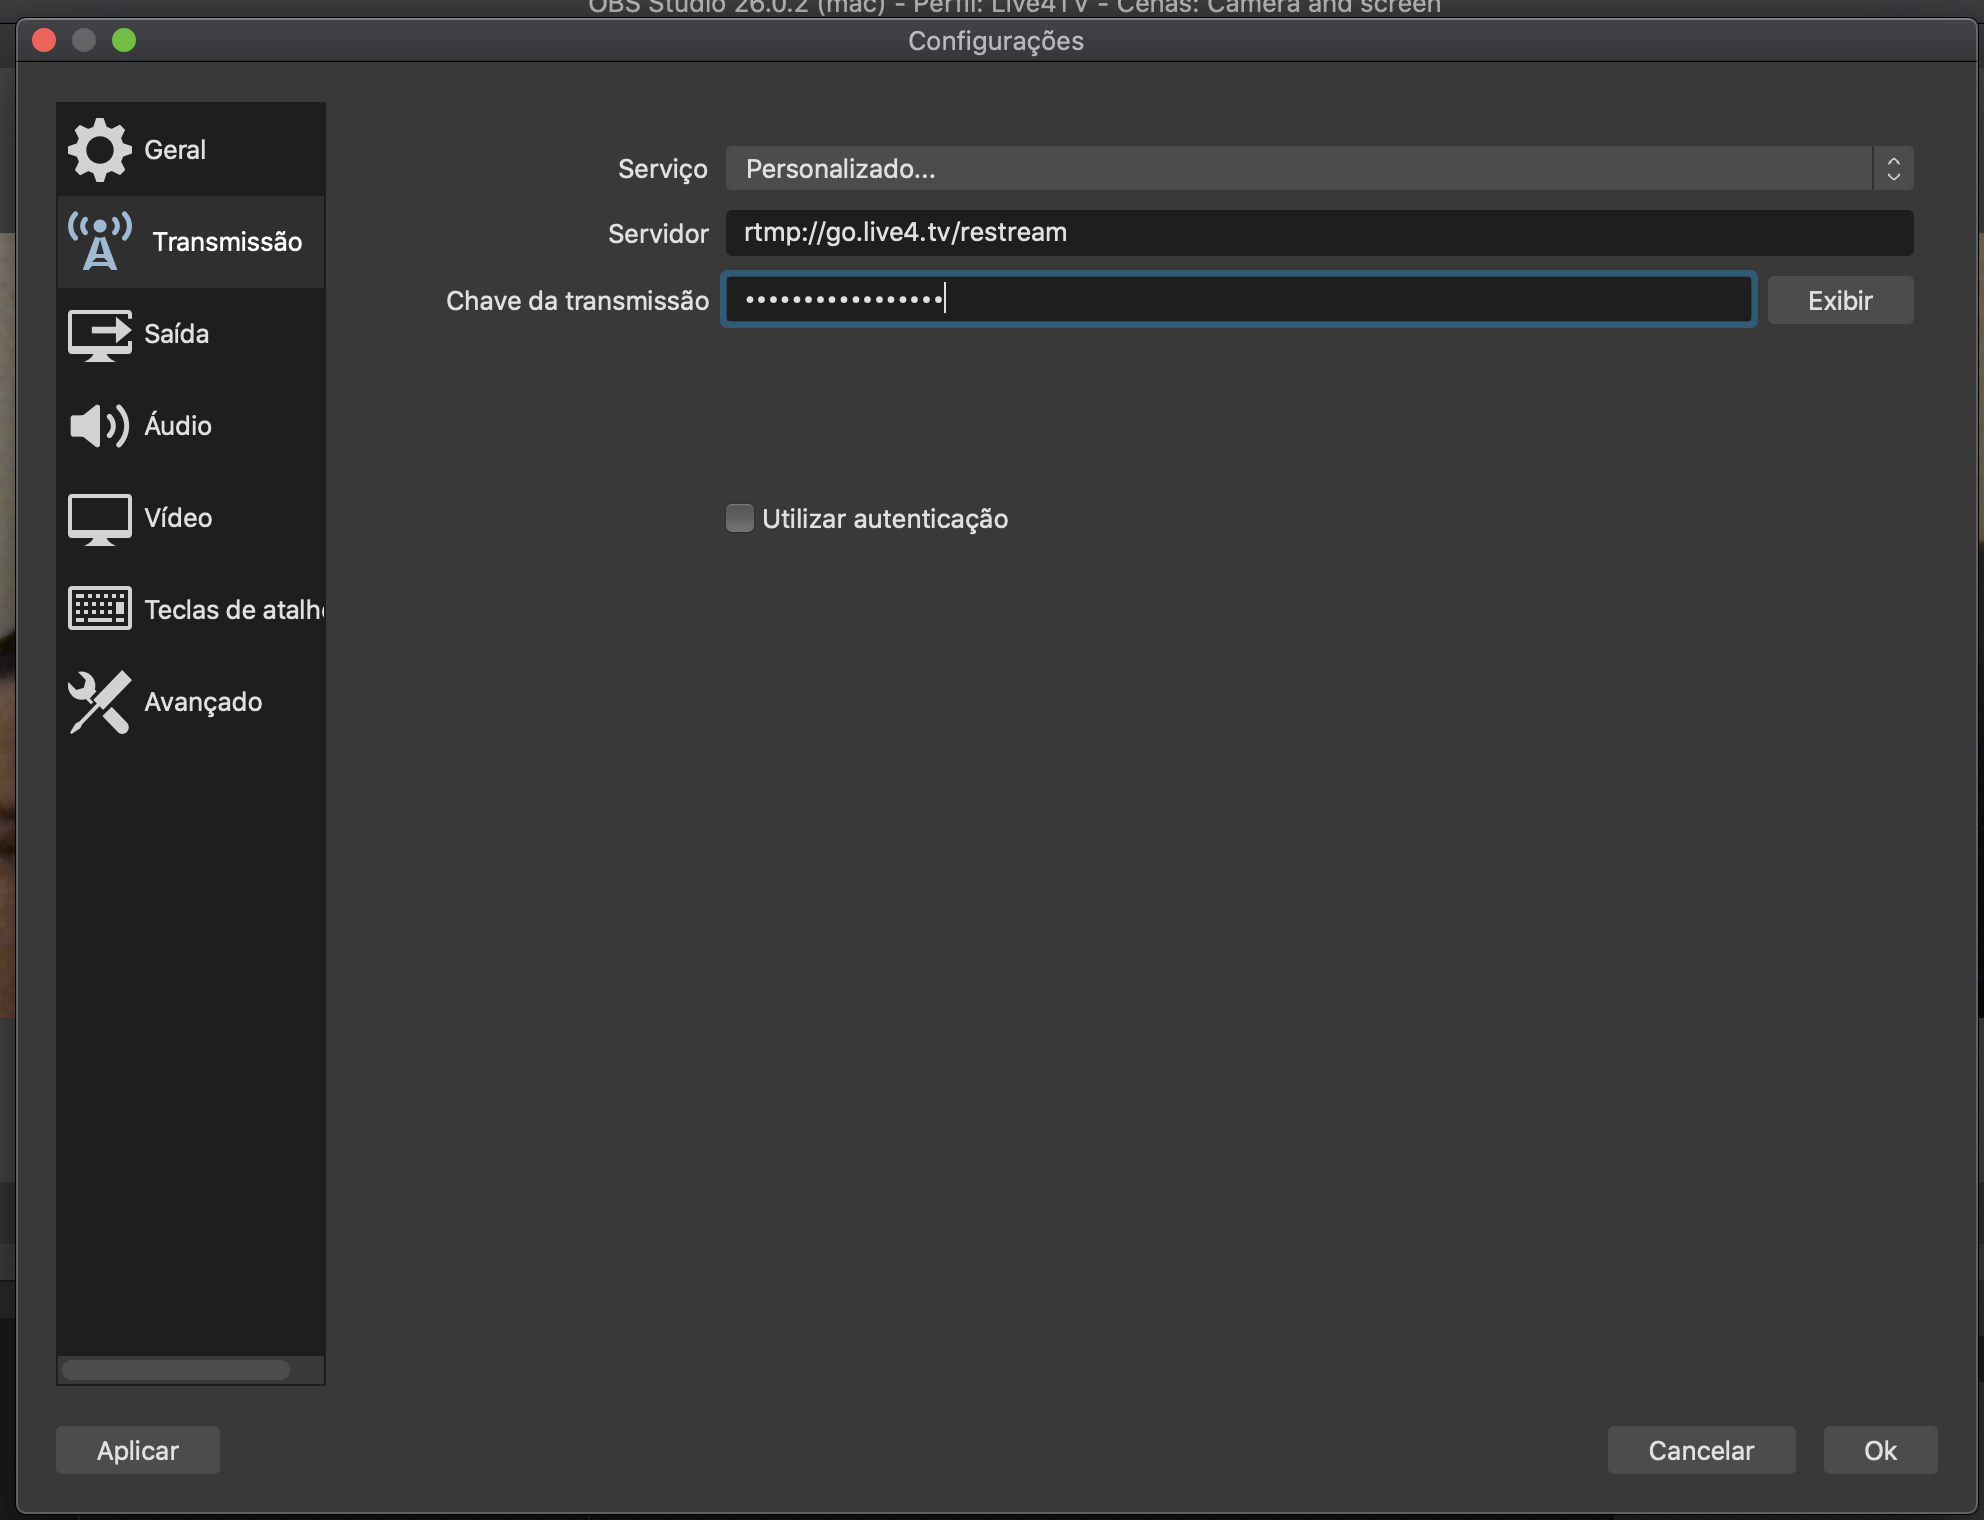
Click “OK” to save.
Step 4: Connect the phones to the computer
There are several ways to connect your phones to the computer. If you have a long enough USB cable, using the cable is the simplest way.
But if you don’t have a long enough cable, here we’ll explain how to use your Wi-Fi network to connect your phone to your computer.
- Make sure the phone and the computer are both connected to the same Wi-Fi network.
- On the phone: download the DroidCam OBS app by clicking here www.dev47apps.com/obs. This app turns your phone’s camera into a webcam.
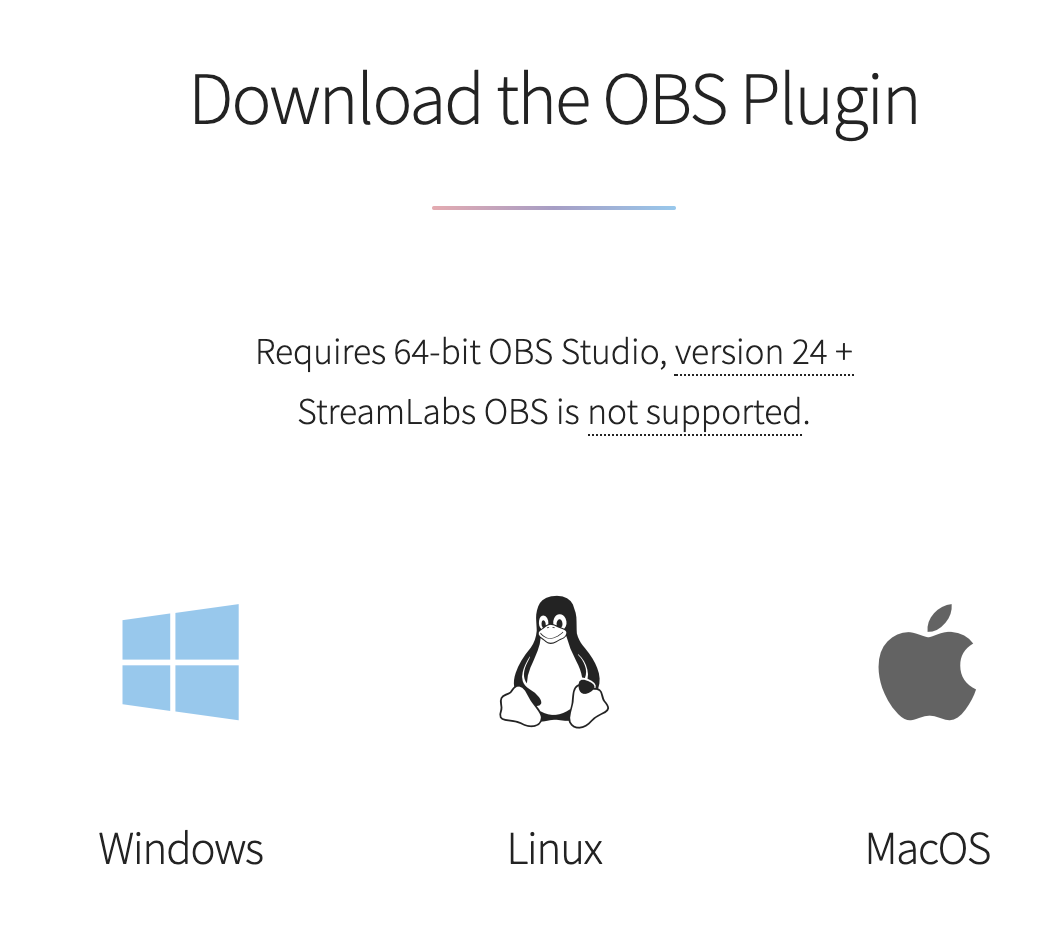
- On the computer: download the DroidCam OBS plugin for OBS here https://www.dev47apps.com/obs/ and follow the usual installation steps.
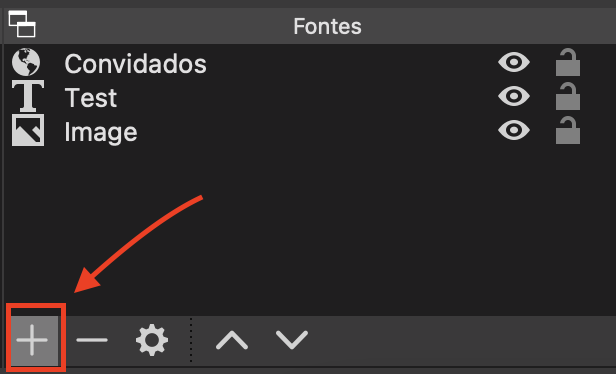
- Once the DroidCam OBS plugin is installed on the computer, open OBS Studio and click the “+” icon to add a new video source
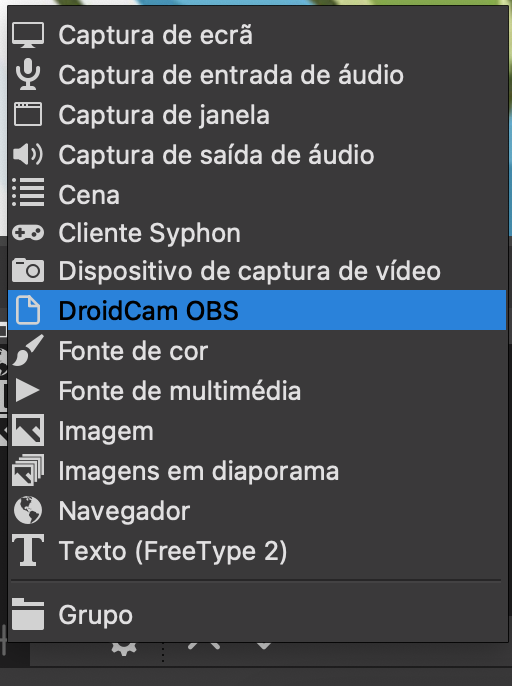
- Then select DroidCam OBS and give it any name to identify the video source.
- Make sure the phone and the computer are on the same Wi-Fi network. Then, on the computer, under WiFi IP, enter the IP address shown on your phone’s screen.
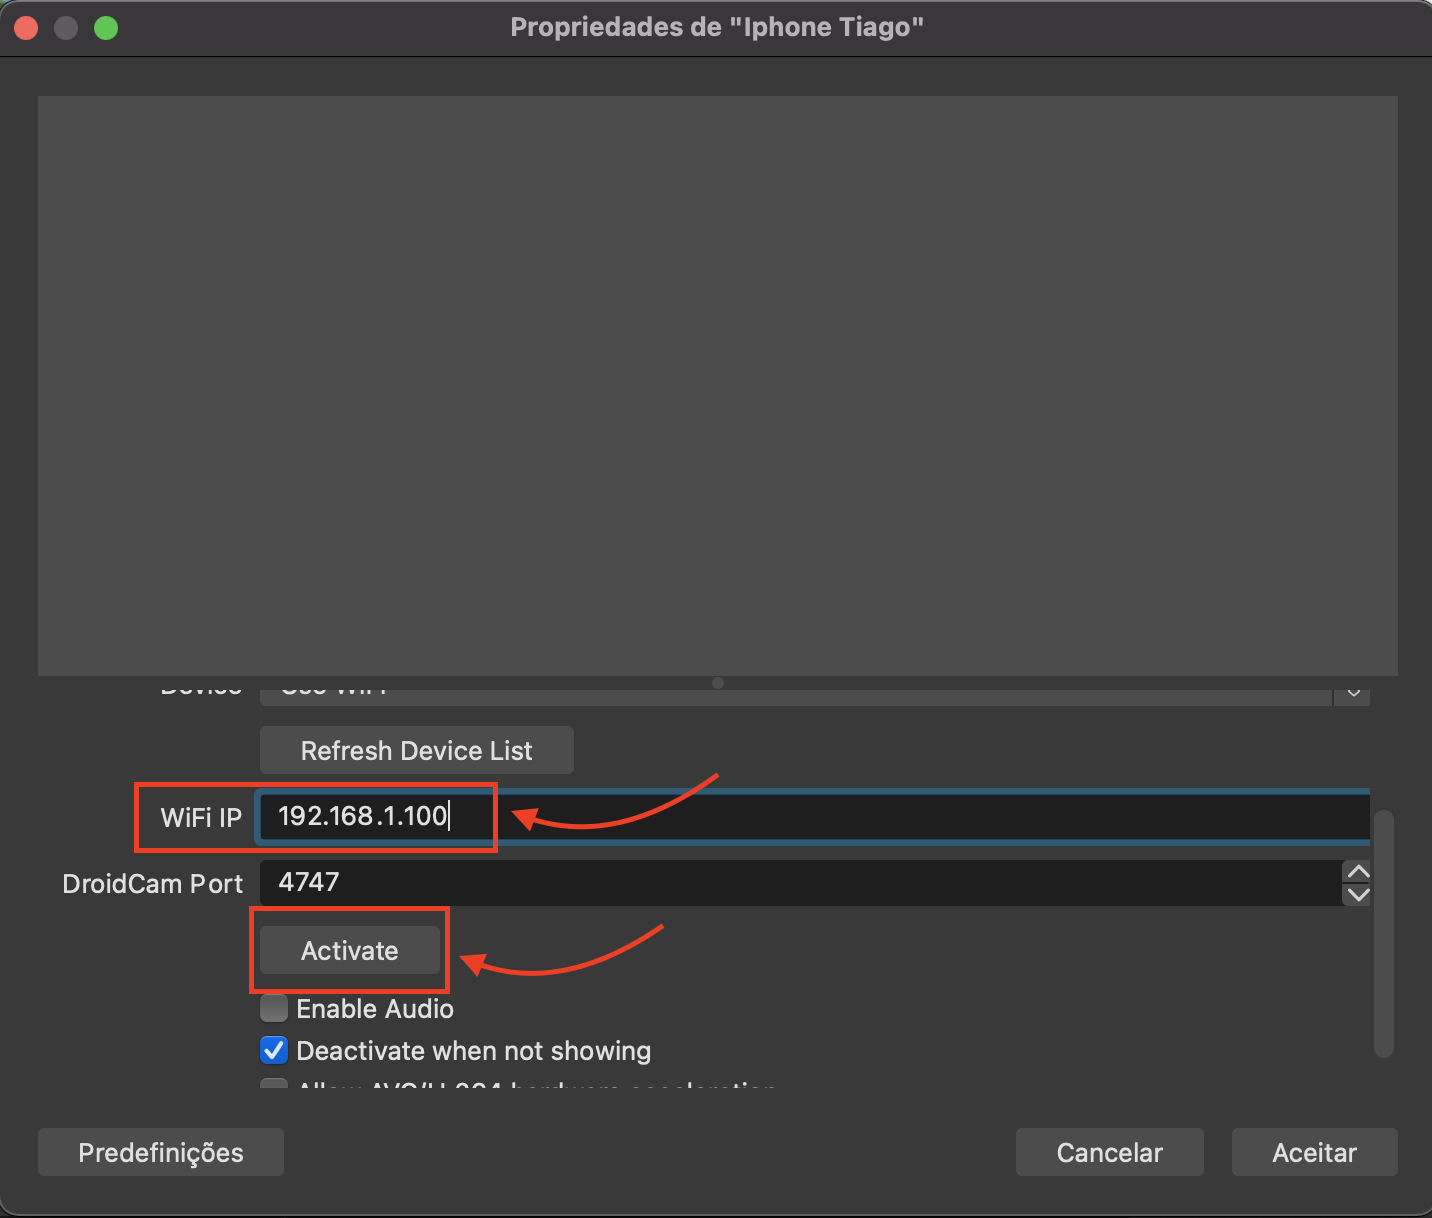
- You’ll then see your phone’s camera image in OBS Studio.

Done, your video is set up.
Step 5: Set up the audio
- After connecting the aux cable to your computer, open OBS Studio and click the “+” icon to add a new audio source.
- Then select “Audio Input Capture” and give it any name to help you identify the audio input.
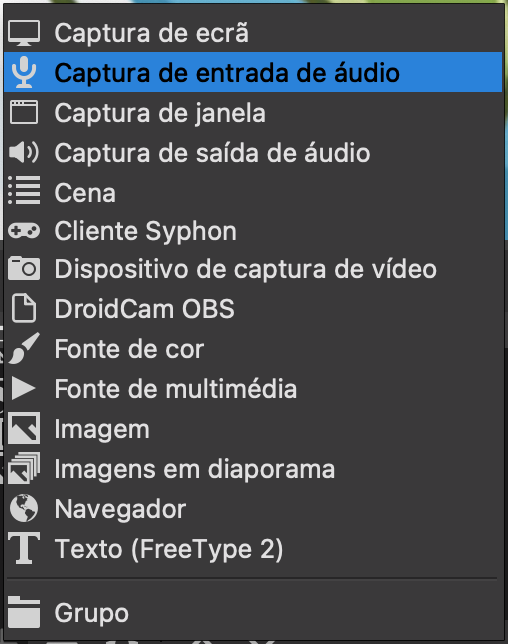
- Select the device you want and click “OK”.
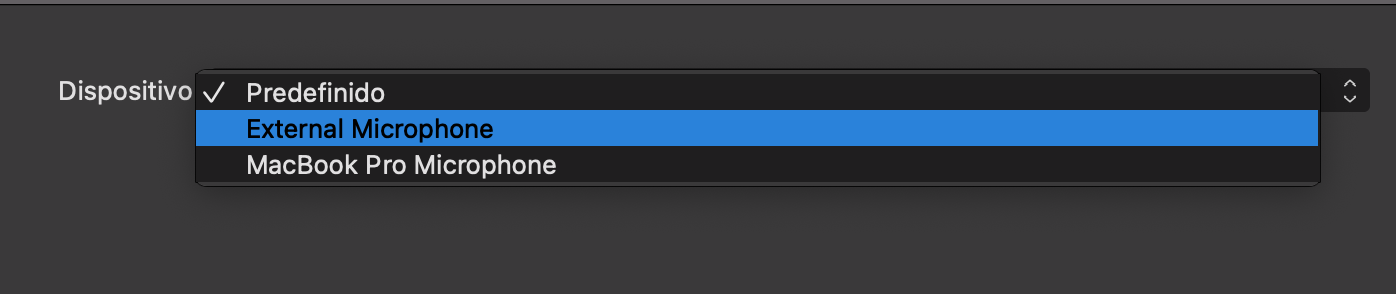
Done. Your audio and video are set up in OBS and ready to stream.
Now you just need to start streaming in OBS Studio by clicking “Start Streaming”, and in Live4.tv by clicking “START ON ALL DESTINATIONS”.


At this point, your live should be multistreaming on Instagram, Facebook and YouTube.
Happy streaming!