
How to go live on Twitch, YouTube and Instagram at the same time
In this tutorial I will teach you, in 5 simple steps, how to go live on Twitch from a PC or Mac using OBS Studio with Live4.tv, while also multistreaming to several social networks such as Instagram, Facebook and YouTube.
We will use OBS Studio, but you can use any other studio app that streams to RTMP, such as Zoom, vMix, XSplit or even StreamYard.
There are only 5 very simple steps, and with our direct integration you do not need to worry about the stream key for Twitch. Live4.tv does everything for you.
Let’s get started!
Step 1: Open Live4.tv
To manage our Twitch live stream, we will use Live4.tv, which runs straight in the browser at studio.live4.tv.
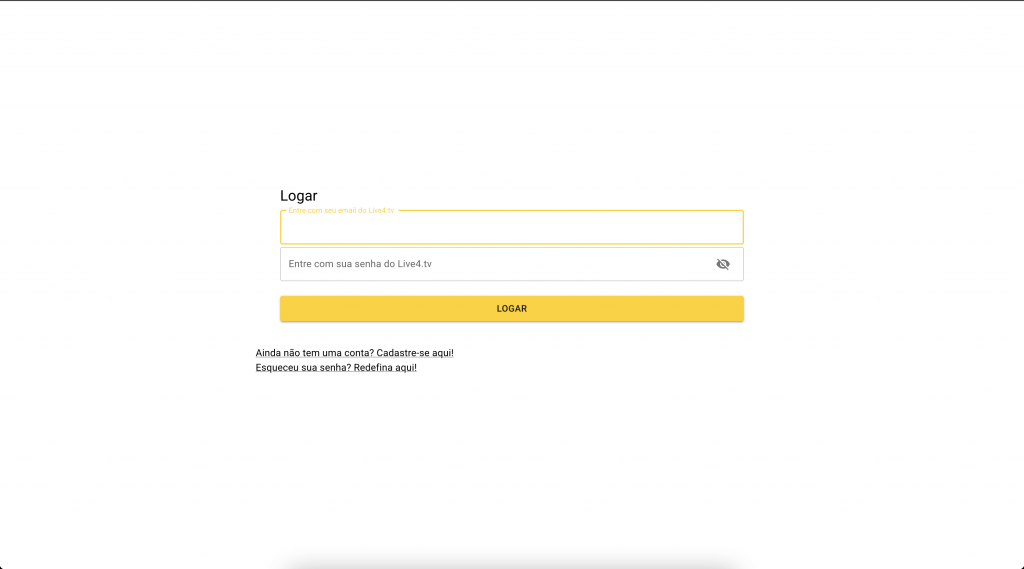
There, just create an account if you do not have one yet, or log in to your existing Live4.tv account.
Step 2: Create an event on Live4.tv
As soon as you log in, you will see the Live4.tv events page. There, you can create your first event by clicking “CREATE AN EVENT”.

It is important to know that the information you enter as the event “Title” and “Description” is what will be posted on social networks when you start your live stream.

After creating your Live4.tv event, you will be automatically redirected to the studio screen (as in the image below).

Step 3: Add your Twitch account
To add your Twitch account, click “+ ADD DESTINATION” > “+ Add new Twitch”.
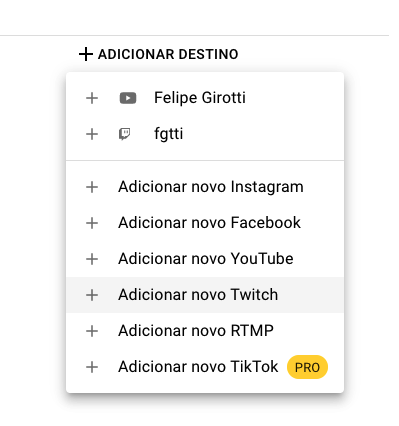
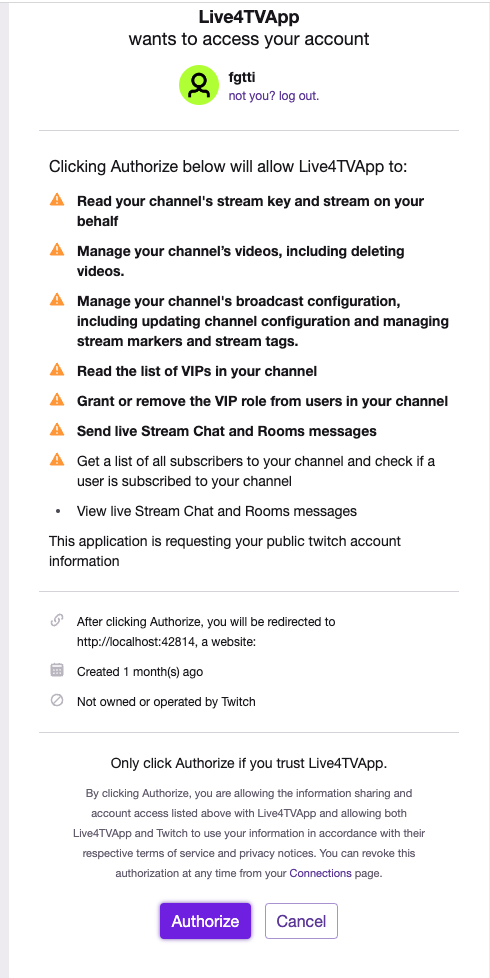
A window with a “LOG IN TO TWITCH” button will then open; just click that button.
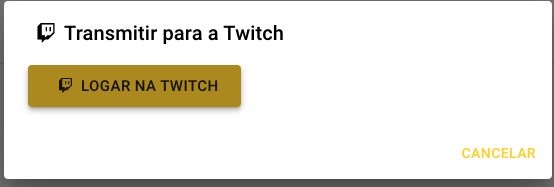
After clicking “LOG IN TO TWITCH” you will see the Twitch authorization login window. If you are not logged in, log in and authorize the Live4TV app.
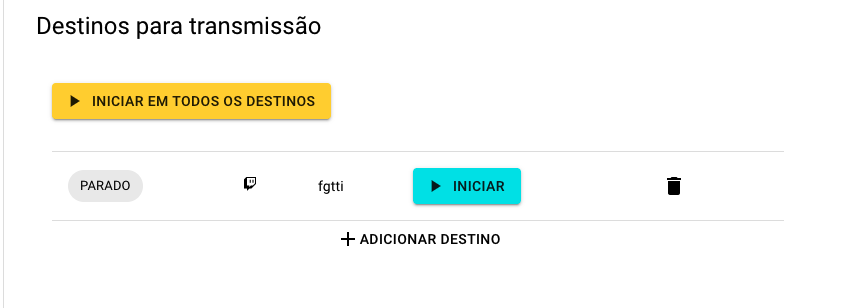
Done!
Step 4: Set up OBS Studio to stream to Twitch with Live4.tv
Now we just need to set up OBS Studio to send the signal to Live4.tv, so Live4.tv can relay your live stream to Twitch.
It is worth mentioning that although we are using OBS as the studio app here, you could set up any other app that streams to RTMP and send the signal to Live4.tv. Some examples are: Zoom, vMix, XSplit, StreamYard, etc…
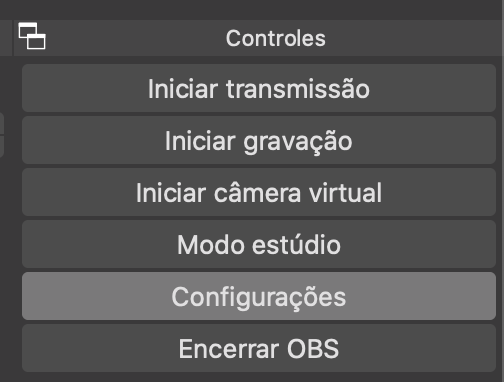
To set up OBS, click “Settings”:
In the settings window, click “Stream”. Then set “Service” to Custom…:
Then enter your live4.tv event data: in “Server” paste the “Streaming URL”, and in “Stream Key” use your event’s “Stream Key”. You copy this data straight from the Live4.tv studio, in the “Streaming Data” area.
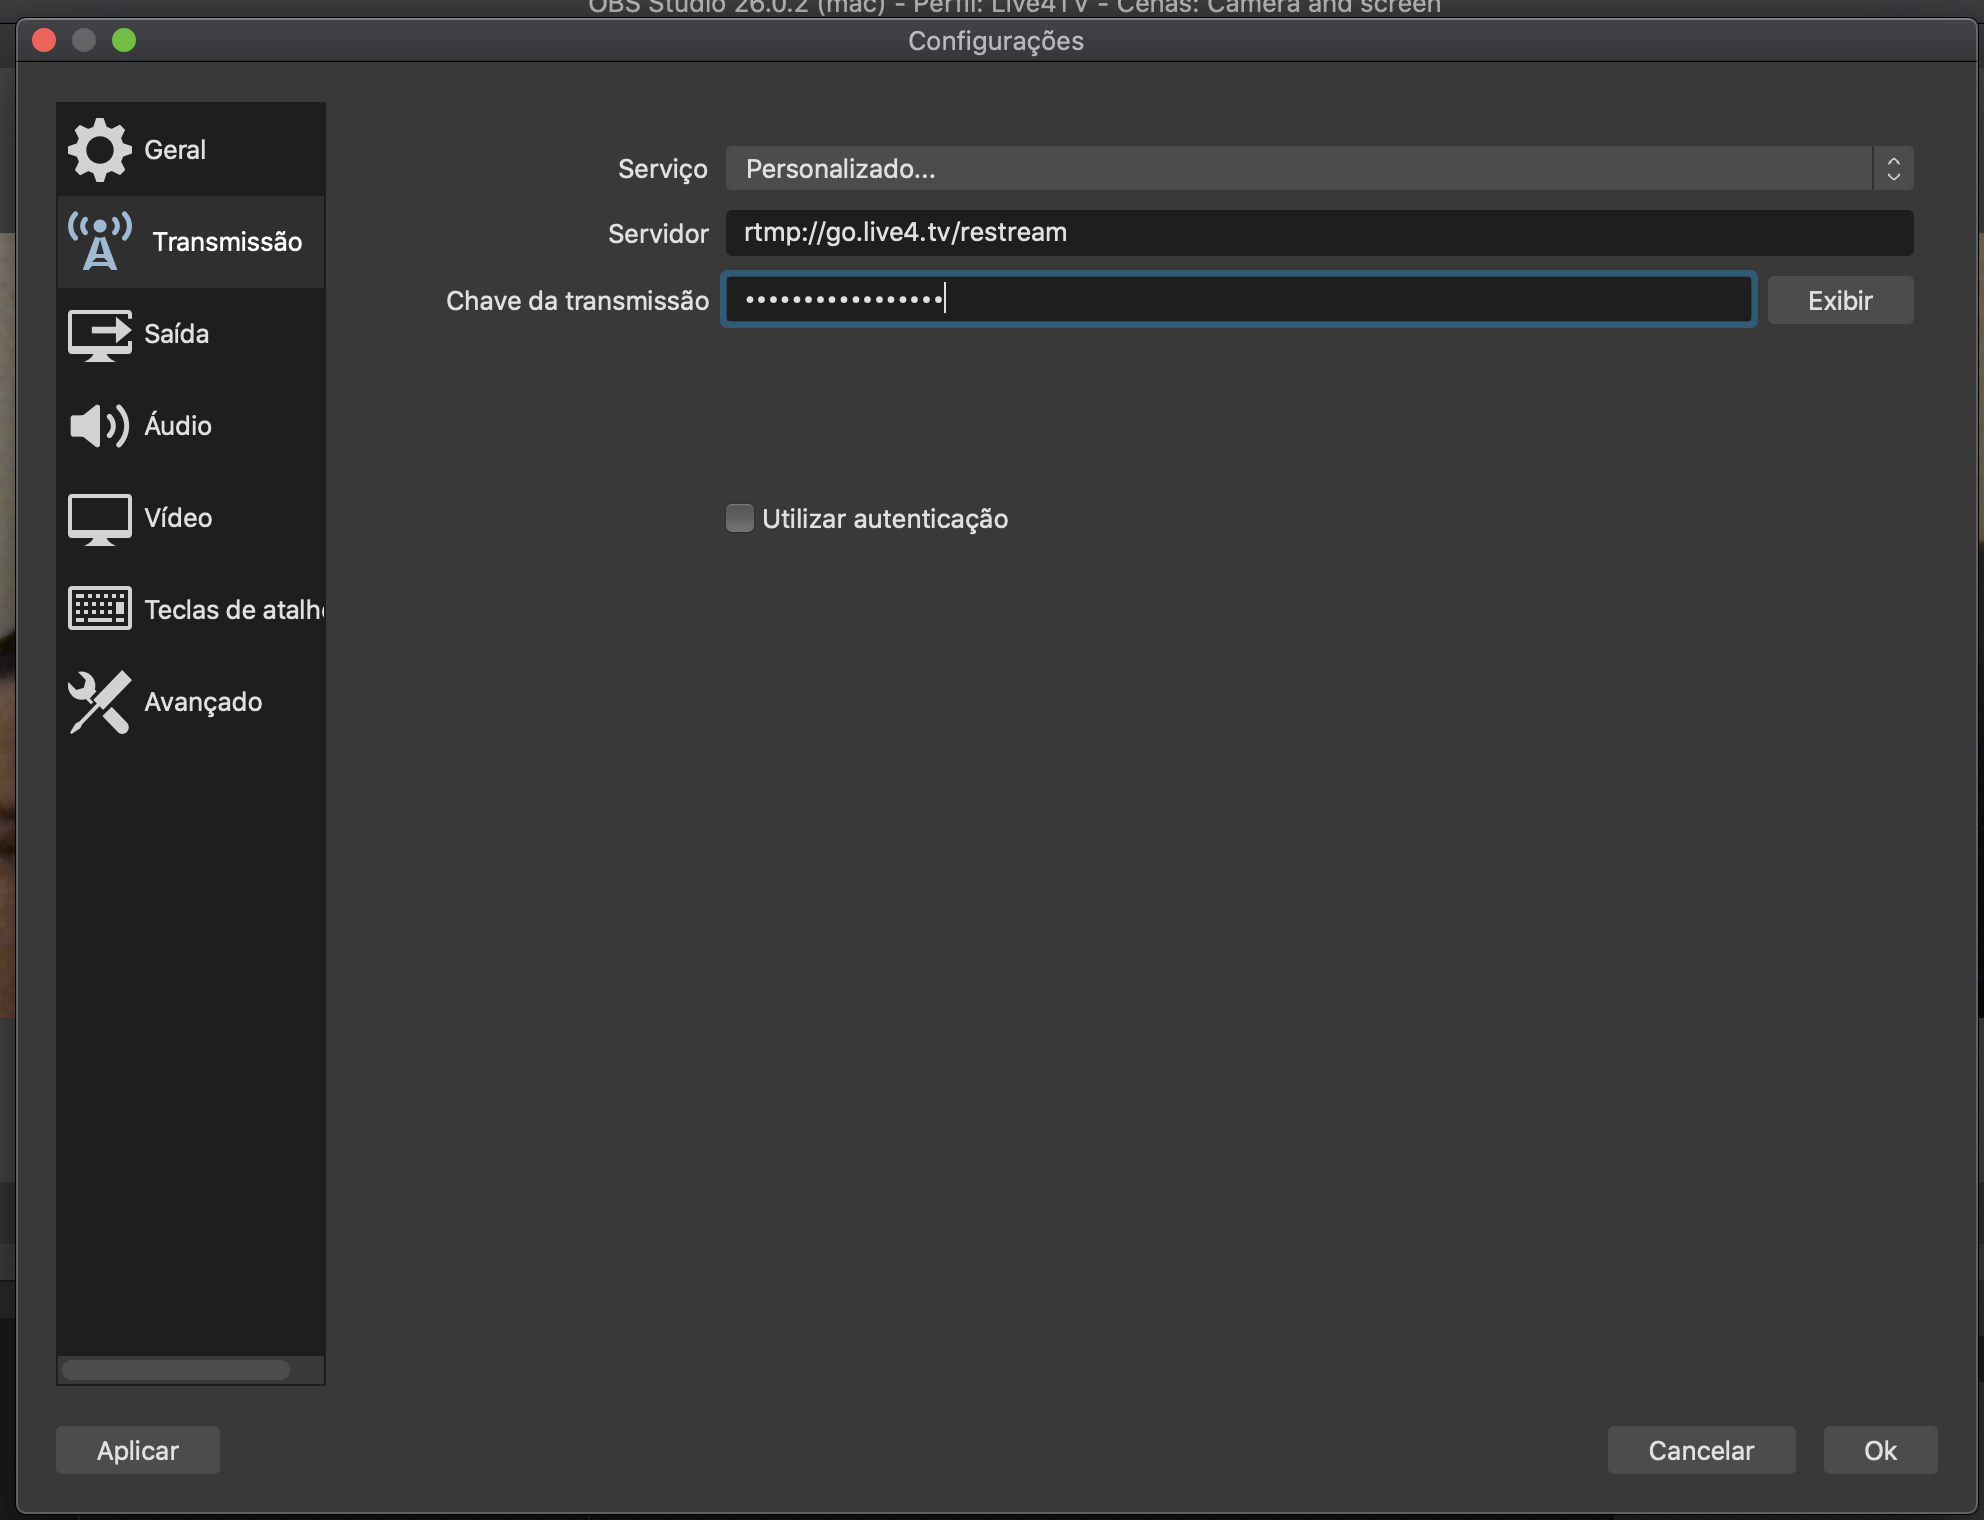
Click “OK” to save.
Step 5: Start your Twitch live stream straight from your computer
Now start streaming in OBS Studio by clicking the “Start Streaming” button.
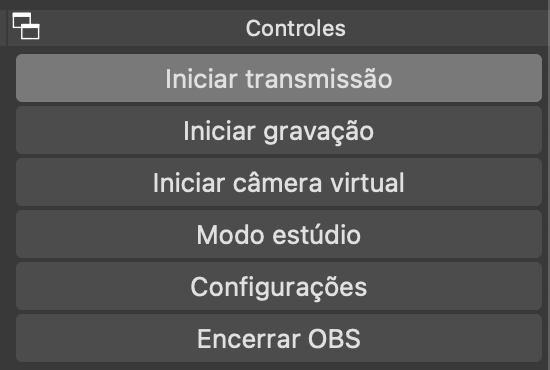
After that, start the live stream in the Live4.tv app by clicking the “START ON ALL DESTINATIONS” button.

And that is all. Live4.tv will create your live stream on Twitch and start relaying your signal to it.
You can also add your accounts on other social networks, such as Instagram, Facebook, YouTube, TikTok, etc… and Live4.tv will relay to all of them.
That is it. To learn more about going live on Instagram, Facebook, YouTube, Twitch, TikTok, etc… with Live4.tv, you can click here to see the step-by-step guide on how to use Live4.tv (with video).
If you have questions, just message us on WhatsApp at +55 91 99333-1890.
See you next time!